


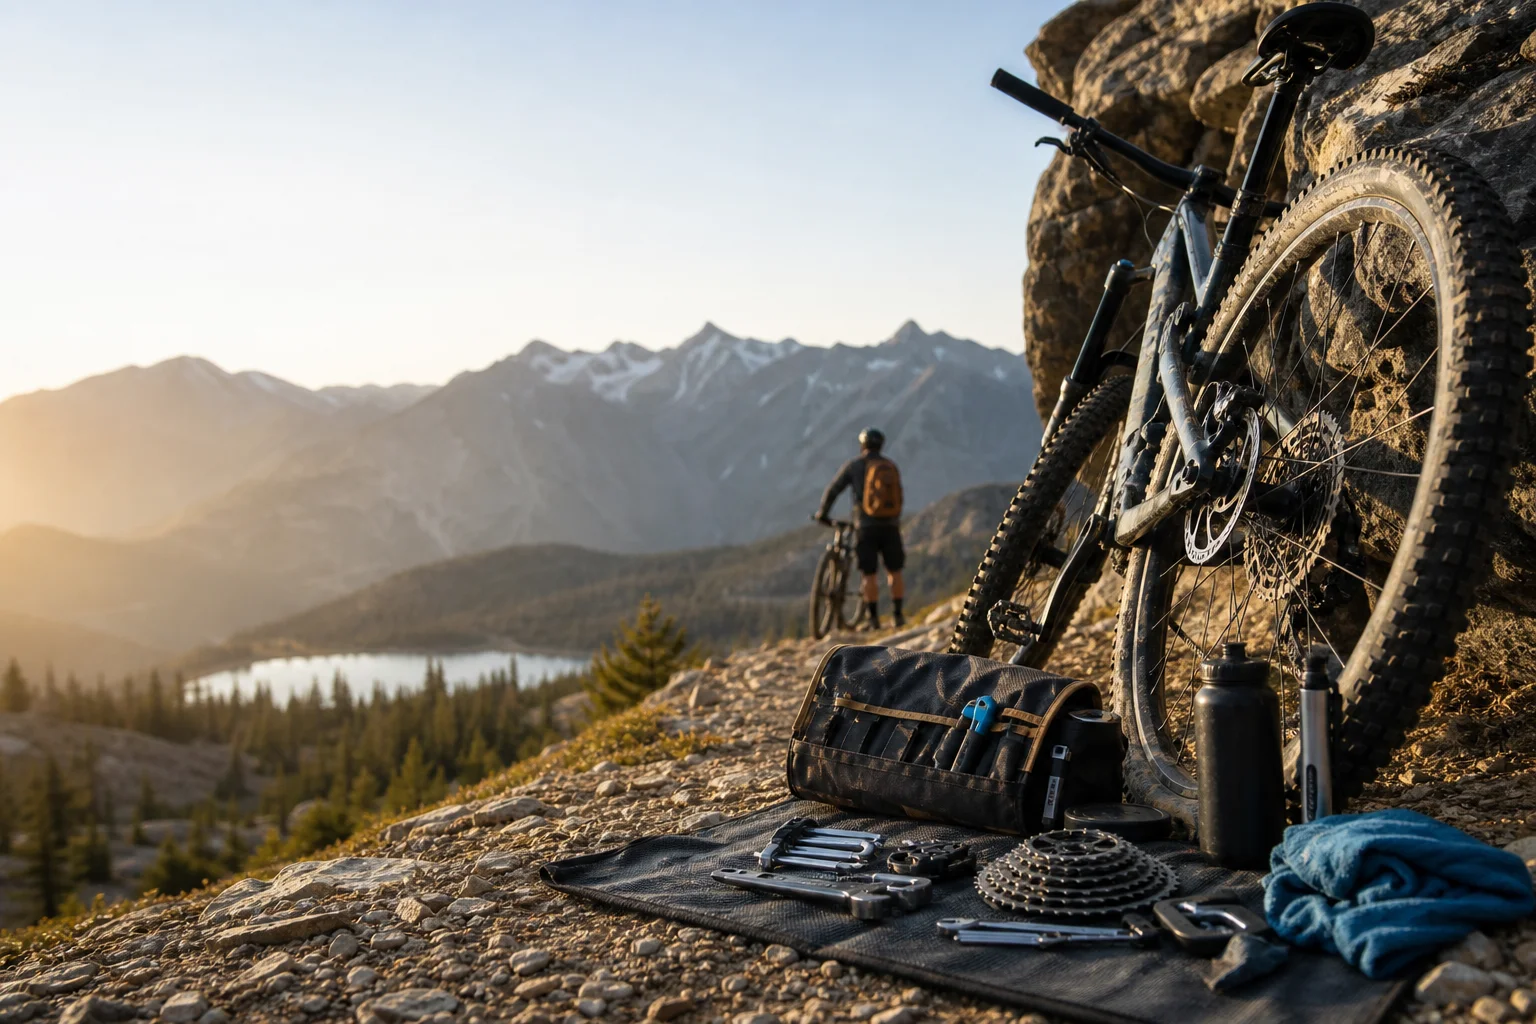
26 Jul DIY Bike Care vs. Professional Bike Service: What’s Worth It?
In a place like Breckenridge—where altitude, big temperature swings, spring mud, and long descents can punish components—bike maintenance isn’t just about keeping things “nice.” It’s about safety, performance, and protecting an expensive investment. The real question isn’t whether you should maintain your bike; it’s which tasks are worth doing yourself and which are better left to a professional bike service.
This guide breaks down what DIY bike care can handle well, where professional service pays for itself, and how to choose the right approach so you ride more and wrench less.
DIY Bike Care vs. Bike Shop Service: The Real Trade-Off
Think of bike maintenance in three buckets:
- Routine care (DIY-friendly): quick, frequent tasks that prevent wear and catch problems early.
- Intermediate repairs (DIY if you’re equipped): tasks requiring a few tools and some know-how.
- Precision/critical work (best professional): anything involving safety-critical systems, tight tolerances, suspension internals, or expensive parts where a small mistake becomes a big bill.
The best strategy for most riders is a hybrid: do the simple, high-frequency work at home, and use professional service for the jobs where expertise and specialized tools make a measurable difference.
What’s Worth Doing Yourself (High Value, Low Risk)
1) Clean the bike the right way (after gritty or muddy rides)
Breckenridge trails can go from dusty to sloppy fast. Grit is basically sandpaper for your drivetrain and suspension.
- Rinse gently (avoid blasting bearings with high-pressure water).
- Use a soft brush and mild soap on frame, wheels, and drivetrain exterior.
- Dry the chain and re-lube after washing.
Worth it because: frequent light cleaning dramatically extends chain, cassette, and pulley life.
2) Chain lube and quick drivetrain checks
Lube is not “set it and forget it.” It’s a routine.
- Choose lube based on conditions: drier lubes for dusty days, wetter lubes when it’s damp.
- Wipe the chain first, apply lube to rollers, let it soak briefly, then wipe off excess.
- Check for stiff links, skipping, or noisy shifting after lubrication.
Worth it because: it’s fast, cheap, and prevents the most common costly wear.
3) Tire pressure and tire inspections (every ride)
Pressure affects traction, speed, and rim protection—especially on rocky Colorado terrain.
- Check pressure before each ride with a gauge (hand-squeezing isn’t accurate).
- Inspect sidewalls and tread for cuts, embedded rocks, or sealant weeps.
- Spin wheels to confirm they’re straight and not rubbing brake pads.
Worth it because: correct pressure reduces flats, improves handling, and protects rims.
4) Basic bolt checks (weekly or after travel)
Temperature changes and vibration can loosen bolts over time.
- Check stem, handlebar, seatpost clamp, and crank bolts.
- If you own a torque wrench, use it—especially on carbon parts.
Worth it because: it’s a simple safety habit that prevents scary failures.
5) Brake pad inspection
Long descents around Breckenridge can burn through pads faster than expected.
- Look for pad material thickness (not just the metal backing).
- Listen for squealing that starts suddenly—it can indicate contamination or glazing.
Worth it because: it prevents rotor damage and keeps braking consistent.
DIY “Maybe”: Great If You Have Tools and Patience
1) Fixing flats and setting up tubeless
Every rider should know how to handle a flat. Tubeless setup, however, can be either smooth or maddening depending on tires, rims, and technique.
- DIY-friendly: plugging punctures, adding sealant, installing tubes.
- More advanced: seating stubborn tubeless beads, diagnosing slow leaks, taping rims.
Worth it if: you ride often and want to be self-sufficient on the trail.
2) Replacing a chain (and checking for wear)
Chains are wear items. Replacing them on time is one of the smartest money-saving moves.
- Use a chain checker to monitor stretch.
- Replace early enough to avoid prematurely wearing the cassette and chainring.
Worth it if: you have a chain tool/quick-link pliers and you’re comfortable following drivetrain specs.
3) Cable/housing replacement (mechanical shifting/brakes)
Fresh cables can transform shifting feel, but routing and tensioning can be finicky.
Worth it if: your bike has simple routing and you’re patient with fine adjustments.
What’s Usually Worth Paying a Professional For (High Precision, High Consequence)
1) Hydraulic brake bleeds and advanced brake troubleshooting
Hydraulic systems deliver great power and modulation—when they’re properly bled and set up.
- Spongy lever feel, wandering bite point, or persistent squeal may require more than pad replacement.
- Bleeding requires the right kit, fluid type, cleanliness, and technique.
Why it’s worth it: braking is safety-critical, and mistakes can lead to crashes or contaminated pads/rotors.
2) Suspension service (fork and shock)
Suspension is one of the most expensive systems on your bike and one of the easiest to damage with “almost right” service.
- Lower-leg/air-can services are time-based and dramatically affect performance.
- Damper overhauls and seal replacements require specialized tools, fluids, and exact procedures.
Why it’s worth it: proper service restores traction and control on rocky descents and prevents costly wear.
3) Bearing replacement (bottom bracket, headset, hub pivots)
If you ride in wet grit or wash bikes often, bearings can suffer.
- Press-fit systems and many pivot bearings require presses, drifts, and careful alignment.
- Incorrect installation can creak, bind, or damage frames and components.
Why it’s worth it: the cost of tools (and risk of damage) often outweighs DIY savings.
4) Wheel truing, spoke replacement, and hub service
A slightly out-of-true wheel can become a bigger problem quickly on rough terrain.
- Truing requires feel and incremental adjustments.
- Hub service may involve specific tools and correct preload.
Why it’s worth it: wheel reliability and spoke tension balance are hard to master and easy to get wrong.
5) Persistent shifting problems and drivetrain diagnostics
Sometimes “bad shifting” isn’t just a cable tweak.
- Bent derailleur hangers, worn cassettes, clutch issues, and chainline problems can mimic each other.
- Electronic shifting adds firmware and setup considerations.
Why it’s worth it: a pro diagnosis can prevent you from replacing the wrong parts.
Cost Reality: When DIY Saves Money—and When It Doesn’t
DIY is cheapest when:
- The task is frequent (lube, cleaning, inspections).
- The tools are inexpensive and reusable (pump, multi-tool, tire levers).
- Mistakes are low-risk and easily corrected (pressure checks, basic cleaning).
Professional service is often cheaper in the long run when:
- The required tools are specialty items you’ll rarely use (bleed kits, bearing presses).
- A mistake could ruin a costly component (carbon parts, suspension, press-fit bearings).
- You’re chasing a problem that could have multiple root causes (mystery creaks, inconsistent shifting).
Sorry, the comment form is closed at this time.