01 Feb What to Expect from a Professional Ski Boot Fitting
What to Expect from a Professional Ski Boot Fitting
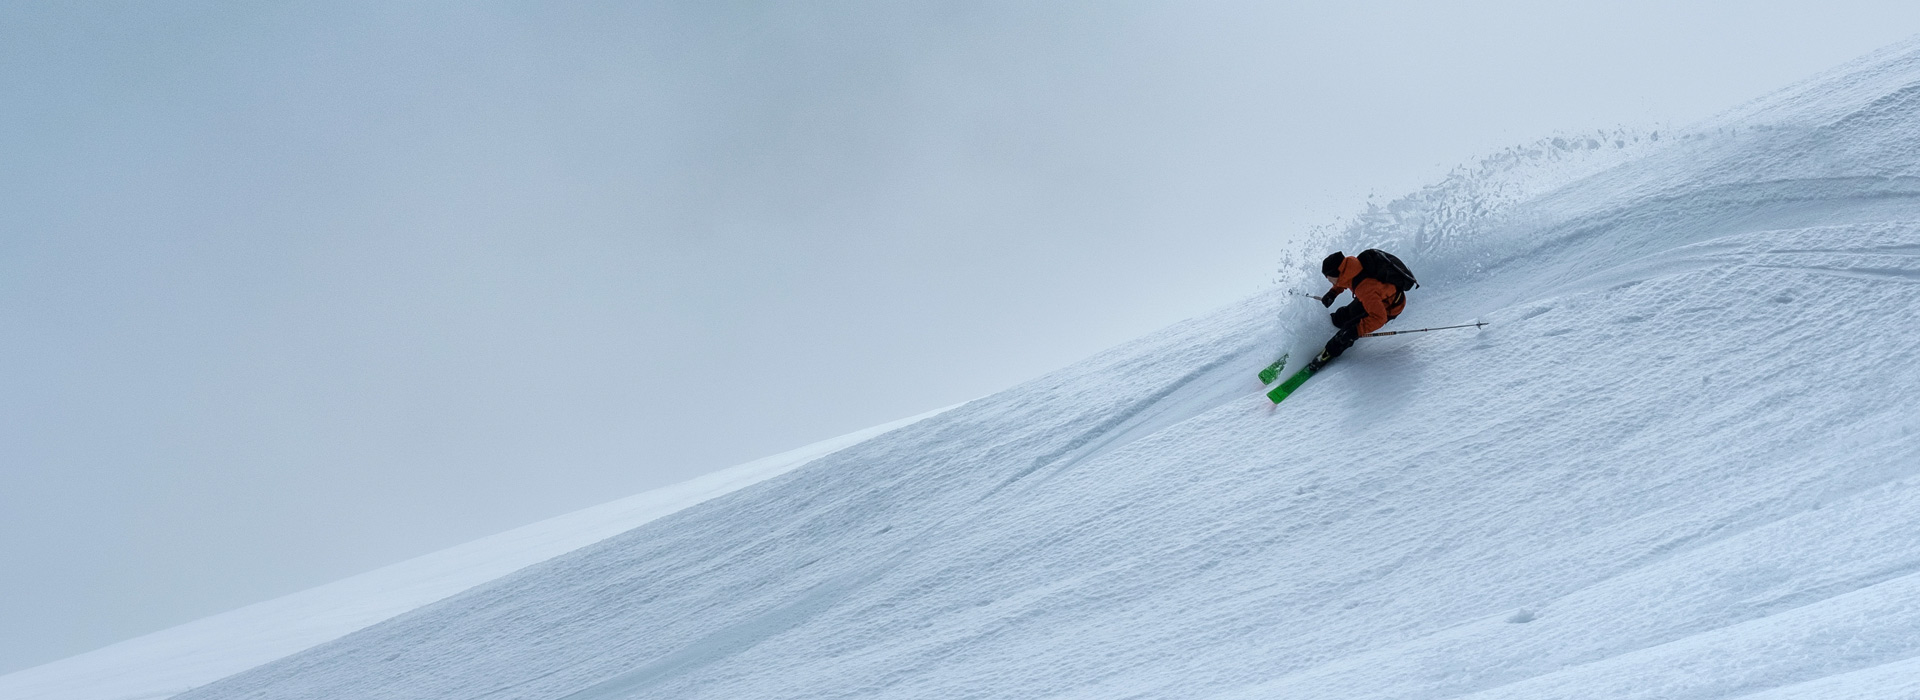
If there’s one piece of ski gear that can make or break your day on the mountain, it’s your boots. The right fit delivers better control, warmer feet, and the confidence to ski longer with less fatigue. At Alpine Sports in Breckenridge, professional boot fitting is about precision, comfort, and matching the boot to your unique anatomy and skiing style.
Whether you’re buying boots or dialing in a pair you already own, here’s exactly what to expect from a professional ski boot fitting—and how to prepare for the best results.
Why a Professional Fit Matters
– Comfort and warmth: Most “cold feet” issues start with circulation. A properly fitted boot supports your foot without crushing it, keeping blood flowing and toes warmer.
– Control and performance: Good heel hold and balanced alignment help you pressure your skis more precisely and ski with less effort.
– Fewer hot spots: Careful shell selection, supportive footbeds, and liner work reduce pressure points and help avoid pain.
How to Prepare for Your Boot Fitting
– Bring the socks you actually ski in. Thin, high-quality ski socks are best. Thicker socks often cause pressure and colder feet.
– Bring your existing footbeds or orthotics if you use them.
– Wear or bring your base layers so cuff height and calf shape can be assessed accurately.
– Arrive with warm feet if you can. Cold feet can make your foot feel smaller and lead to choosing the wrong size.
– Plan on 45–90 minutes, depending on your needs.
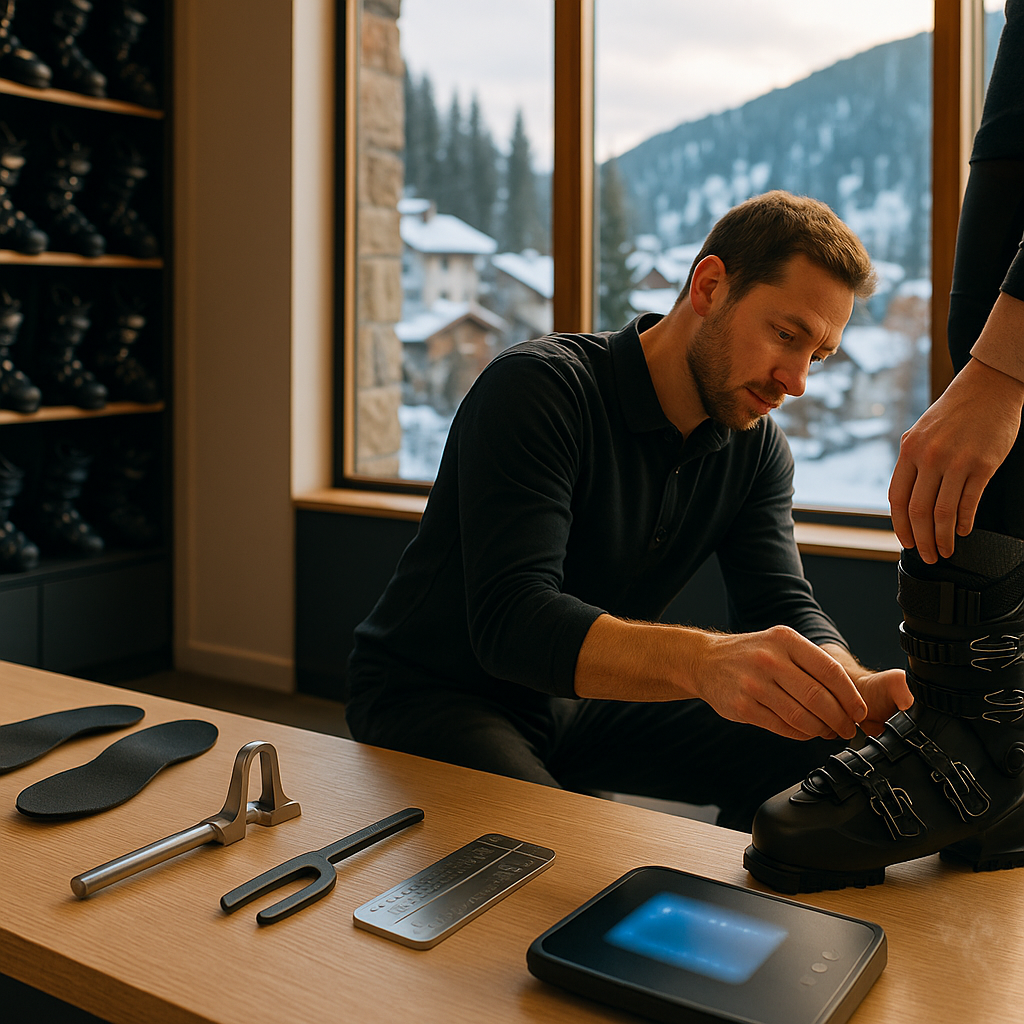
Step-by-Step: What Happens During a Professional Fit
1) Conversation and skier profile
Your fitter will start with questions about:
– Your ability level, preferred terrain, and skiing goals
– Any past boot issues (numbness, heel lift, hot spots, cold toes)
– Your foot history (high arches, flat feet, bunions, previous injuries)
– Desired feel (comfort-first fit, performance-oriented fit, or a balance)
This helps guide boot selection before any measurements are taken.
2) Foot evaluation and measurements
Expect a thorough look at:
– Length and width: Measured while standing for an accurate, weight-bearing size
– Arch height and instep volume: Key for selecting the right boot shape
– Heel and ankle shape: Crucial for heel retention and reducing slippage
– Calf shape and size: Affects cuff fit and stance
– Natural stance: How your knees and ankles track over your feet
3) Shell check (the “liner-out” test)
Your fitter will remove the liner and have you place your foot inside the shell to assess space and shape. This quick test tells us:
– Length clearance behind the heel
– Width at the forefoot
– Pressure around the ankle and instep
– Whether the shell shape matches your foot’s anatomy
This step is important for dialing in the right size and last (shell width).
4) Boot selection: size, last, and flex
Using the assessment, your fitter will recommend a shell that matches your foot and skiing style:
– Last (width): Narrow, medium, or wider lasts are matched to your forefoot shape
– Flex index: Lower numbers are softer and easier to flex; higher numbers are stiffer and more supportive. Weight, ability, and preference all matter
– Cuff height and shape: To accommodate your calf and improve leverage and comfort
5) Supportive footbeds or custom insoles
A stable foot is a warm, comfortable foot. Supportive footbeds help:
– Stabilize the arch to reduce foot fatigue and hot spots
– Improve edge control by aligning your foot and ankle
– Create a consistent platform for liner molding and shell work
Your fitter will discuss options based on your anatomy and goals.
6) Liner molding and initial setup
Many modern liners are heat moldable. Your fitter may:
– Warm the liners and use toe caps to create toe room
– Position your footbeds precisely
– Seat your heel deep in the pocket for better hold
– Set strap and buckle tension for your stance and feel
7) Cuff alignment and stance tuning
If your boots allow it, your fitter will check:
– Cuff alignment (canting): To match the boot cuff to the angle of your lower leg
– Ramp and forward lean: Adjustments that influence balance and comfort
– Booster/strap setup: For better shin contact and rebound
8) Fine-tuning, punches, and pressure relief
This is where a pro fitter shines. If an area feels tight or a bone protrusion needs space, your fitter can:
– Punch or stretch the shell locally
– Add or move pads to increase heel hold
– Thin or modify boot boards or tongues to reduce instep pressure
– Adjust buckles, catches, and straps for even pressure
9) On-snow feedback and follow-up
Boots typically need a few ski days to settle. Expect:
– A brief break-in period as liners pack in
– Minor tweaks after your first day or two if you notice pressure points or numbness
Pro fitters love feedback—it’s how they make a good fit great.
How a Great Fit Should Feel
– Snug but not painful: Even, firm contact around the foot and lower leg
– Toes: Light contact when standing tall; pull back slightly when you flex forward
– Heel: Locked in with minimal lift when you flex
– Instep and forefoot: Secure but not compressed; no sharp pressure points
– Lower leg: Cuff contact is even; no pinching at the calf
– On-snow: Improved control and less foot movement inside the boot
Common Boot Fit Myths
– “Bigger boots are more comfortable.” Oversized boots cause heel lift and friction, which can actually lead to colder feet and less control.
– “Thicker socks keep you warmer.” Thick socks can reduce circulation and create pressure. Thin, well-made ski socks keep feet warmer and improve fit.
– “A brand-new boot should feel roomy.” New boots should feel snug. Liners pack in over several days, creating extra space.
Troubleshooting: What If You Feel…
– Numb toes: Often a circulation issue. Check sock thickness, buckle tension, instep pressure, and footbed support.
– Burning on the sole: May indicate poor support or excessive movement. Supportive footbeds can help.
– Ankle bone pressure: A targeted punch or pad adjustment can relieve this quickly.
– Heel lift: Heel pocket pads, better footbeds, or a different shell shape may be needed.
– Calf discomfort: Cuff alignment, spoil removal, or a boot with a different cuff shape can make a big difference.
Caring for Your Boots After the Fit
– Dry them gently: Remove liners and footbeds to dry at room temperature. Avoid direct heat sources that can damage shells and liners.
– Buckle lightly for storage: This helps the shell maintain its shape.
– Keep them clean: Shake out debris and wipe away moisture to prevent odor and wear.
– Don’t change socks mid-day: Consistency helps your fit stay predictable.
– Communicate: If something feels off, come back and let your fitter adjust it.
Why Get Fitted at Alpine Sports
– Family-owned, full-service shop: Friendly, experienced boot fitters who take the time to understand your needs.
– Precision tools and techniques: From supportive footbeds to shell punches and liner molding, we tailor the boot to your feet and skiing goals.
– Two convenient locations: Find us on the north and south ends of Breckenridge, Colorado, making it easy to stop in before or after you hit the mountain.
– Seamless support: Whether you’re getting your first pair or refining a high-performance setup, we’ll help you ski more comfortably and confidently.
Frequently Asked Questions
How long does a boot fitting take?
Plan for 45–90 minutes. Complex fits or custom work may take a bit longer.
Do I need an appointment?
Walk-ins are welcome, but appointments are recommended during peak times for the most efficient experience.
Can you work on boots I didn’t buy here?
Yes—professional fitters can improve the fit of most quality ski boots with adjustments, footbeds, and liner work.
Will my boots feel tight at first?
Yes. A new, well-fitted boot will feel snug initially; liners pack in and become more comfortable after a few days on snow.
How do I know if my flex is right?
Your fitter will consider your weight, strength, ability, and preferred terrain. You should be able to flex the boot forward without collapsing it.
Ready to Ski Better, Warmer, and Longer?
Stop by Alpine Sports for a professional ski boot fitting. With two convenient locations on the north and south ends of Breckenridge, our team is ready to help you find the right fit, make smart adjustments, and get more from every run. If you’re planning a busy ski weekend or peak holiday dates, consider booking your fitting in advance to save time.
Sorry, the comment form is closed at this time.