10 Nov Where to Find the Best Snowboarding Runs in Breckenridge
Where to Find the Best Snowboarding Runs in Breckenridge
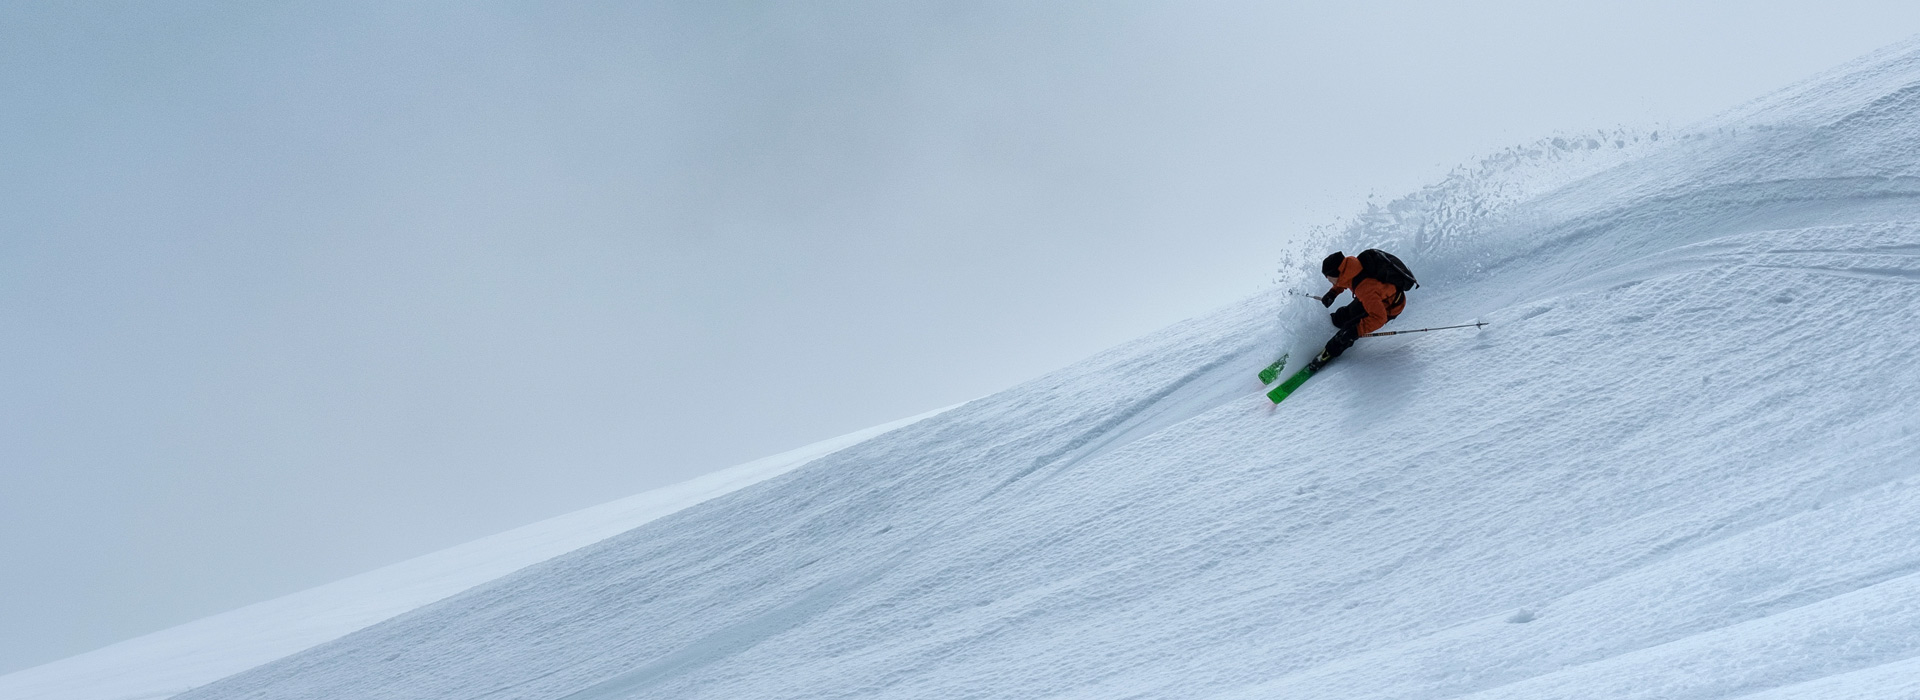
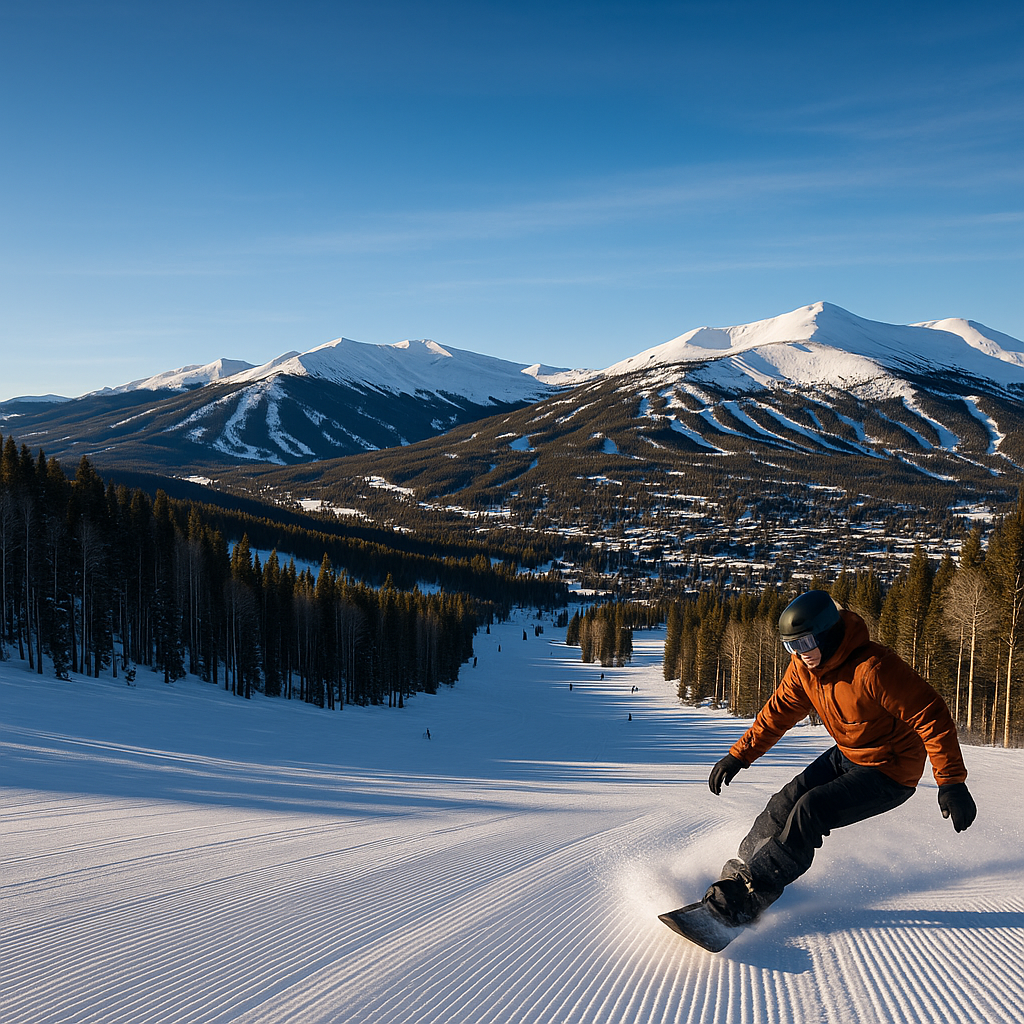
Breckenridge is a snowboarder’s dream: five connected peaks, high-alpine bowls, long groomers, playful trees, and a full park progression. Whether you’re riding your first green, hunting for wind-buffed powder, or dialing in tricks, there’s terrain for every style and skill level. Here’s a local-friendly guide to the best snowboarding runs in Breckenridge—plus pro tips on when to ride them and how to gear up so you can make the most out of every lap.
Beginner-Friendly Zones to Build Confidence
Peak 9 (Lower Mountain)
– Why you’ll love it: Wide, mellow pitches that are perfect for learning to link turns without feeling crowded by faster riders.
– When to go: Hit these greens early for the smoothest snow and lighter traffic. As the day goes on, it can get busy with lessons.
– Tips: Keep your stance relaxed and focus on smooth edge transitions. If you’re feeling good after a few laps, explore the mid-mountain blues off the same side for a gentle step up.
Peak 8 (Springmeier and the lower sections of 4 O’Clock)
– Why you’ll love it: Gradual, predictable terrain that gives you space to practice speed control and stopping.
– When to go: Late morning often rides nicely after the snow softens a touch.
– Tips: The lower half of 4 O’Clock is a classic top-to-town route, but it can get scraped late in the day—save some leg stamina if you plan to ride it all the way down.
Peak 7 (Claimjumper)
– Why you’ll love it: One of the mountain’s most popular green cruisers with a long, gentle pitch—great for building confidence and endurance.
– When to go: Mid-morning after grooming sets up; avoid the heaviest midday traffic if you’re still finding your edges.
Best Intermediate Terrain for Linking Carves and Exploring
Peak 7 Blue Groomers
– What to ride: Smooth, rolling blues that are made for carving with a little speed. These runs are wide, consistent, and insanely fun on a freshly tuned board.
– Why it’s great: The aspect and elevation often keep the snow chalky and fast, especially on cooler days after a storm.
– Pro tip: Look for groomer reports and chase corduroy here first thing. It’s one of the best places on the mountain to really feel your board come alive.
Peak 8 Variety Runs
– What to ride: A mix of blues like Northstar, Crescendo, and Duke’s Run, plus the long 4 O’Clock lap back to town.
– Why it’s great: Peak 8 has a little of everything—quick laps, longer descents, and easy access to higher alpine if you’re ready to push it later in the day.
– Pro tip: If you want to keep things smooth, ride blues first and leave steeper, more exposed lines for when the sun softens them.
Peak 6 Bowl Blues
– What to ride: The broad, open blue terrain below the ridge is tailor-made for intermediate snowboarders to arc turns in wide-open spaces.
– Why it’s great: You get that high-alpine feel without needing expert skills, and the snow often stays cold and chalky.
– Pro tip: On windy or flat-light days, consider dropping back toward more protected terrain for better visibility.
Advanced and Expert Lines for Steeps, Bumps, and Bowls
Peak 10 Black Diamonds
– What to ride: Classic black groomers and bump runs that hold their pitch, plus gladed shots for advanced riders when coverage is good.
– Why it’s great: Peak 10 rides best when conditions soften a bit—perfect for snowboarders who like strong edges, speed, and rhythm.
– When to go: Late morning through early afternoon once the sun warms the snow. On cold days, it can stay firm—look for groomed black laps.
Peak 8 Upper Mountain and High Alpine
– What to ride: Steeper bowls and hike-to terrain when open, with challenging lines that reward commitment and strong technique.
– Why it’s great: Iconic steeps, big views, and the kind of freeride lines you dream about.
– Safety note: These zones are weather- and patrol-dependent. Respect closures, heed signage, and ride with a partner when you’re pushing into bigger terrain.
Peak 6 Hike-To and Bowl Riding
– What to ride: Open bowls and, for true experts when conditions allow, hike-to chutes along the ridge.
– Why it’s great: When the wind fills these features, the turns can be surreal—smooth, surfy, and confidence-inspiring if you’re prepared.
– Pro tip: Check wind direction and recent snowfall. Wind-buffed snow often rides better than you’d expect the day after a storm.
Terrain Parks for Every Level
– Progression is the name of the game. You’ll find smaller features for learning, mid-sized jumps and jibs to level up, and a flagship line for advanced riders when it’s built out.
– Start small, ride with a spotter, and always take a “speed check” lap. Park builds evolve through the season; respect features and signage.
– If you’re new to parks, practice ollies, flatland butters, and switch riding on mellow groomers before stepping to features.
How to Plan Your Snowboard Day Like a Local
– Start with the sun: On cold mornings, south- and east-facing runs soften earlier; on warmer afternoons, chase shade for smoother, less grabby snow.
– Watch the wind: High-alpine lifts and hike-to terrain are weather-dependent. Have a backup plan on lower peaks with trees if upper mountain goes on hold.
– Manage crowds with smart timing: Ride popular green and blue zones early, then move to higher or farther-flung terrain late morning.
– Keep your speed in check near slow zones and base areas. Breckenridge is busy; predictable riding keeps everyone safer.
Board and Setup Tips for Breckenridge’s Snow
– Edges: Keep them sharp for hardpack mornings and variable chalk. You’ll carve better and feel more confident on steeper pitches.
– Wax: Rocky Mountain snow is dry and can be abrasive—fresh wax makes a noticeable difference in speed and glide.
– Stance: A slightly setback stance with moderate angles is a great all-mountain starting point; park riders may prefer a more centered, duck stance.
– Boots: Fit is everything. A snug heel hold and even pressure across the foot helps you ride longer without hot spots.
Altitude, Weather, and Safety
– Hydrate early and often. The base area sits around 9,600 feet and the upper mountain climbs well over 12,000 feet—altitude is real.
– Layer smart: Start cool and add layers as needed. A breathable midlayer and a face covering for wind can make or break your day.
– Know when to call it: If visibility drops or legs are cooked, head for lower, protected terrain or take a break. Good decisions lead to better riding tomorrow.
Make the Most of Your Trip with Alpine Sports
Alpine Sports is your family-owned, full-service spot for snowboards, boots, helmets, and tune services—plus friendly, local advice on where to ride for the day’s conditions. With two convenient locations on the north and south ends of Breckenridge, it’s easy to swing in, get dialed, and be on the snow fast.
What we recommend:
– Reserve your snowboard rental online to lock in the right board for your style and ability.
– Pick up your gear the afternoon before your first day so you can head straight to the lifts in the morning.
– Ask our techs for a fresh wax and a quick edge touch-up tailored to the day’s temps and conditions.
– New to snowboarding or switching from skiing? Our team can help you choose the right stance, board length, and bindings so your first runs feel great.
Your Perfect Breckenridge Snowboard Day, Simplified
– First-timer or easing in: Start on the greens at the base of Peak 9, then take a celebratory lap down the gentler sections of 4 O’Clock.
– Intermediate cruiser: Chase corduroy on Peak 7, then explore the blues on Peak 8 and finish with a long top-to-town run.
– Advanced charger: Lap Peak 10 when it softens, then head for high-alpine lines on Peaks 8 and 6 if winds and patrol allow.
Wherever you ride, Breckenridge rewards smart planning, tuned gear, and a little local know-how. Stop by Alpine Sports on your way to the mountain—we’ll get you set up, share conditions tips, and send you out the door ready to find your best runs of the season.
Sorry, the comment form is closed at this time.